Changing your WordPress site's URL can feel like performing open-heart surgery on your website. It’s a task that often comes with a healthy dose of anxiety. After all, one wrong move could send your traffic plummeting, shatter your search engine rankings, and leave visitors staring at a broken site.
But here’s the good news: you can absolutely handle this. Whether you're rebranding, moving from a temporary testing site, or finally making the essential switch to HTTPS, the secret isn't technical wizardry; it's careful, step-by-step preparation.
My goal here is to strip away that anxiety. We'll walk through the entire process together, breaking it down into simple, manageable steps so you can make the change with confidence.
Why Does Changing a WordPress URL Feel So High-Stakes?
Let's be honest—the idea of messing with your site's main address is enough to make anyone nervous. Your URL is your digital postcode. If you change it incorrectly, it’s like moving house and forgetting to tell the post office. Suddenly, nothing gets delivered. Visitors can’t find you, images disappear, and you might even be greeted by the infamous "white screen of death".
The Usual Suspects: Common Reasons for a URL Change
It's not always about a dramatic, top-to-bottom rebrand. Most of the time, a URL change is driven by a practical need. I’ve seen it all, but it usually boils down to one of these common scenarios:
- Moving to a New Domain: This is the big one. You’ve finally snagged that perfect domain name, and now it’s time to make it the official home for your website.
- Switching from HTTP to HTTPS: This is non-negotiable these days. Google heavily favours secure sites, and visitors expect to see that little padlock. Making the switch means every single link on your site needs updating.
- Going Live from Staging: A smart developer never builds on a live site. You build on a staging or development URL, and when everything is perfect, you "push" it live by updating the URL to the final domain.
- Changing Directories: Maybe your site started its life tucked away in a subdirectory (like
yourdomain.co.uk/blogor/wordpress). For a cleaner, more professional feel, you’ll want to move it to the root domain (yourdomain.co.uk).
The One Thing You Absolutely Must Do First
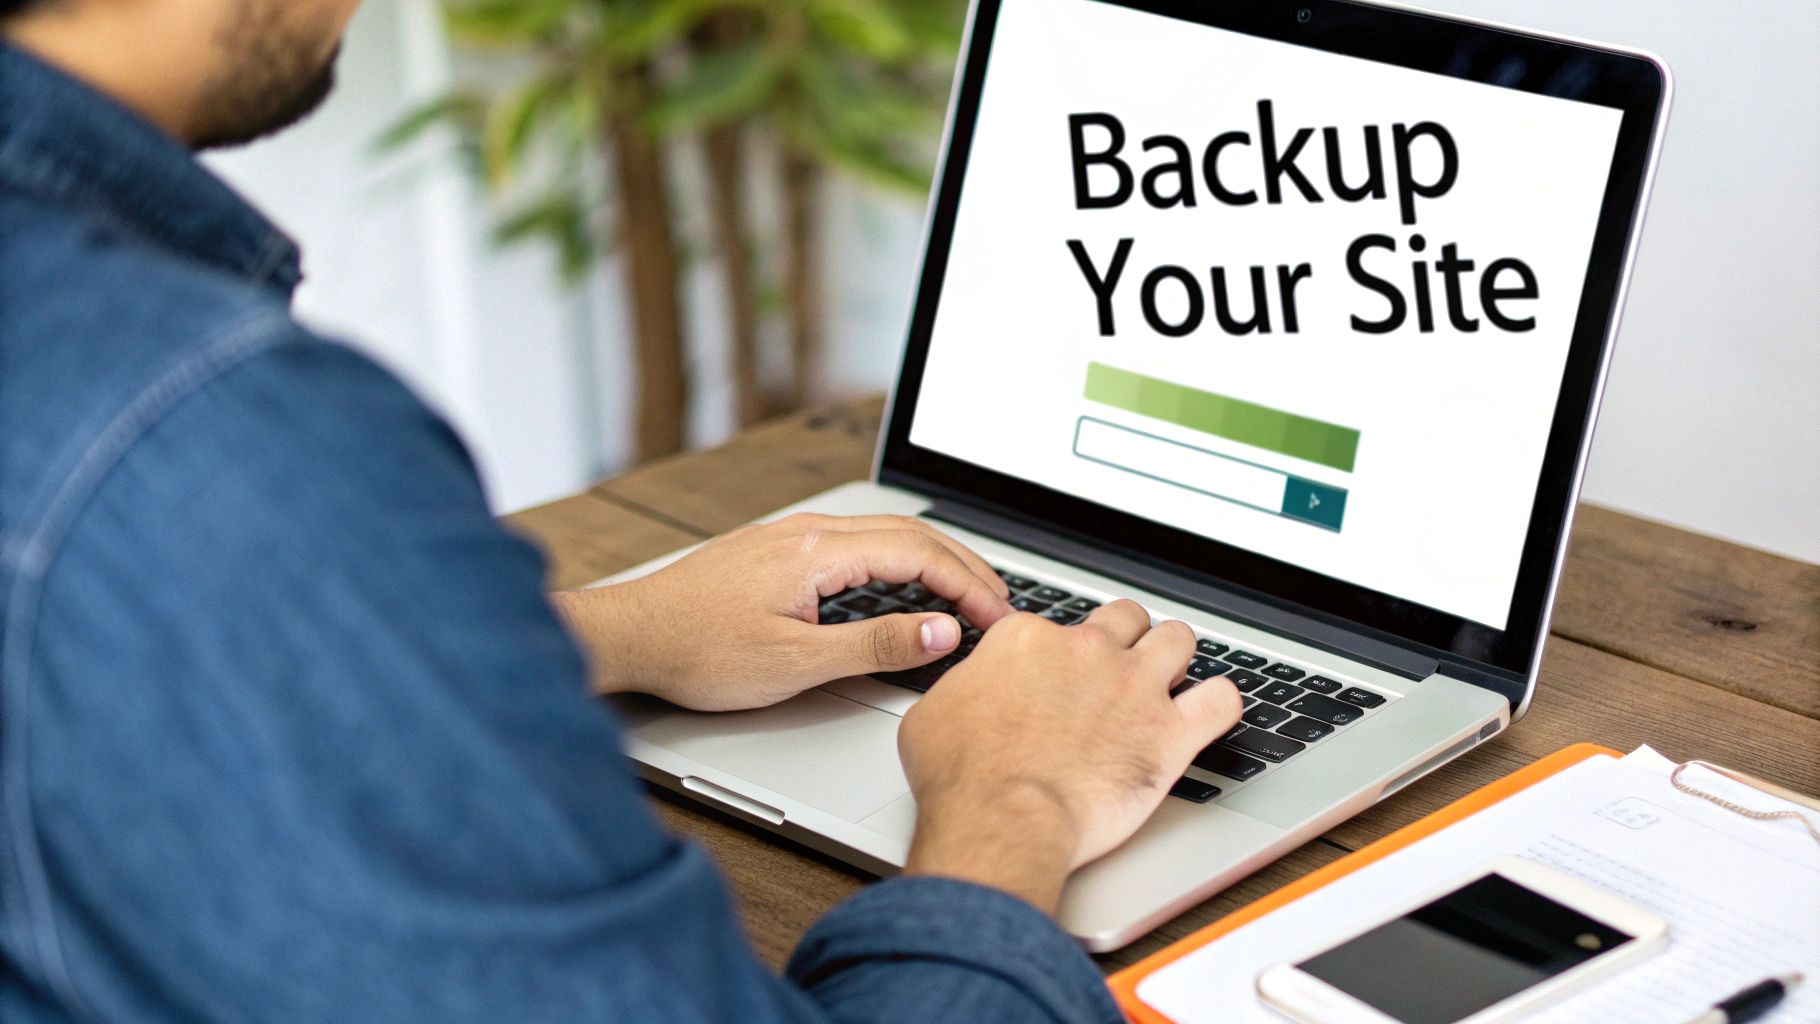
Before you even think about touching a single setting, stop. There is one step that is completely non-negotiable: take a full backup of your website. I can't stress this enough. This isn’t a friendly suggestion; it’s your get-out-of-jail-free card.
A "full" backup means two things: all of your WordPress files (themes, plugins, uploads) and your database (which holds all your posts, pages, comments, and settings). If you only have one, your backup is useless.
If something goes wrong—and in the world of web development, things sometimes do—this backup is your rewind button. It lets you restore your site to its last working state in a matter of minutes. What could have been a site-killing disaster becomes a minor hiccup. Think of it as the foundation for the entire project; get this right, and you can move forward without the fear.
Meta Description
Thinking of changing your WordPress URL but worried about breaking your site? This guide explains why it's necessary and how to prepare for a risk-free transition.
The Easiest Way: Changing Your URL Straight from the Dashboard
Let's start with the simplest method. For many people, changing a WordPress URL doesn't require touching a single line of code or messing about in the database. Phew.
This approach is perfect for straightforward scenarios. Maybe you're adding a 'www' prefix to your domain for the first time, or you've just switched your primary domain over with your hosting provider and need WordPress to catch up. If that sounds like you, the admin dashboard is your best bet.
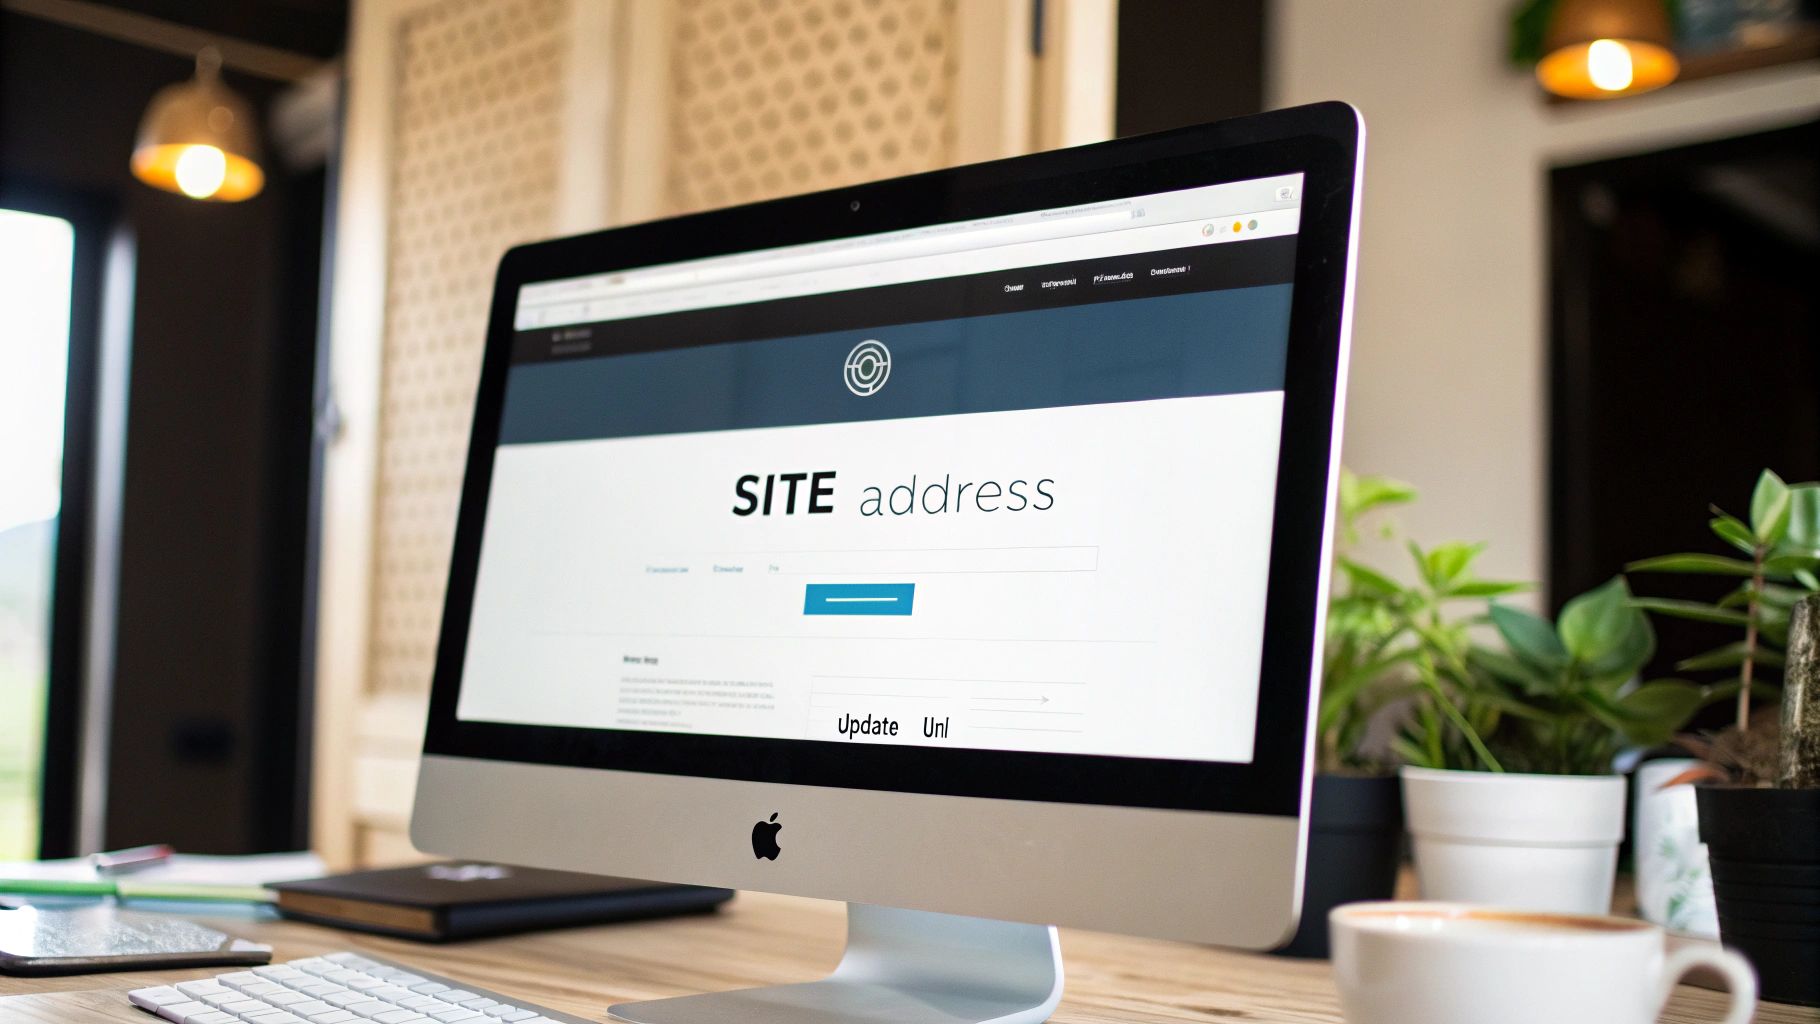
Understanding WordPress Address vs. Site Address
Before you dive in, it’s crucial to know the difference between two settings that look almost identical. Getting this wrong can cause headaches later.
- WordPress Address (URL): This is where your website's engine lives. It’s the directory containing all the core WordPress files, your plugins, and your themes.
- Site Address (URL): This is the public-facing address. It's what you tell people to type into their browser to find you.
In 99% of cases, these two addresses should be exactly the same. Unless you're running a very specialised setup (like giving WordPress its own directory), just keep them identical to ensure your site works as expected.
Making the Change in Your General Settings
Ready to get it done?
First, log into your WordPress admin area and head over to Settings > General. You'll see the two fields we just talked about right at the top.
This is what the page looks like, with the key fields highlighted.
All you need to do is carefully type your new URL into both the WordPress Address and Site Address boxes. I can't stress this enough: double-check for typos! A single mistake here can lock you out.
Once you're happy, scroll down and hit the "Save Changes" button.
With WordPress powering over 1,084,957 websites in the UK alone, this is a routine task for countless business owners and developers. Nailing these fundamental settings is your first line of defence against broken links and SEO hiccups. If you're curious, you can find more insights about UK WordPress usage to see just how big the community is.
Heads-up: After you save, WordPress will almost certainly log you out. Don't panic! This is completely normal. It’s just re-authenticating your session with the new URL. Log back in using your new admin address (e.g.,
yournewdomain.co.uk/wp-admin) to make sure everything is working.
But what if you can't edit these fields? If you find they're greyed out and unclickable, it simply means your URL is hard-coded elsewhere, most likely in your wp-config.php file. We'll cover how to handle that in the next section.
If you hit a snag with this method or just want an expert to handle it for you, feel free to contact us to learn more.
Using the wp-config.php File for a Quick Fix
So, what happens if you’ve tried changing your URL from the dashboard and now you’re completely locked out? It’s a sinking feeling, but don’t panic—it happens to the best of us. This is where one of WordPress’s most important core files, wp-config.php, becomes your best friend.
Think of this file as the central nervous system for your site. By editing it, you can manually tell WordPress what its address should be, overriding any incorrect settings that might be lurking in the database. This method is a real lifesaver when you can't get into your admin area.
Accessing Your wp-config.php File
First things first, you’ll need to connect to your website's server to find this file. You’ve got a couple of common ways to do this:
- File Manager: Most hosting providers give you a browser-based file manager right in your control panel (like cPanel or Plesk). It's usually the quickest option.
- FTP Client: If you're more hands-on, a program like FileZilla will let you connect directly to your server.
Once you’re connected, head to the root directory of your WordPress installation. This folder is often named public_html, www, or something similar. The wp-config.php file will be sitting right there. Before you touch anything, do yourself a favour and download a backup copy, just in case something goes sideways.
Adding the Code Snippets
Now for the magic. Open up wp-config.php in an editor. You're looking for a specific line of text: /* That's all, stop editing! Happy publishing. */.
Just before that line, carefully add the following two lines of code:
define( 'WP_HOME', 'http://yournewdomain.co.uk' );
define( 'WP_SITEURL', 'http://yournewdomain.co.uk' );
Of course, you'll need to replace http://yournewdomain.co.uk with your actual new URL. Be extremely careful with spelling and formatting here—a single typo can bring the whole site down.
This method essentially hard-codes your site’s address. It’s a powerful fix because it forces WordPress to use these new URLs, completely bypassing whatever is saved in the database. It’s my go-to emergency fix for regaining access.
After saving the file and uploading it back to your server, try logging into your admin area again. This simple edit should restore your access immediately. The principle here is similar to certain steps in a full website migration for WordPress, where ensuring these core settings are correct is foundational to success.
Once you’re back in and have a look at Settings > General, you’ll notice the URL fields are now greyed out and uneditable. That’s because the wp-config.php file now has the final say. This gives you a rock-solid way to define your site's address, preventing it from being accidentally changed from the dashboard again.
How to Properly Update URLs Across Your Entire Database
So, you’ve updated the main site address in your WordPress settings. That’s a great start, but it's only half the job. Think of it like changing the address on your front door while leaving the old one on all your internal paperwork. Your old URL is still lurking throughout your database—tucked away in post content, image paths, theme options, and plugin settings.
Leaving these old links behind is a recipe for trouble. You’ll likely run into broken images, frustrating "mixed content" warnings on your new secure site, or internal links that lead to nowhere. To truly finish the job, we need to perform a thorough search and replace directly in the database. It sounds a bit intimidating, but with the right tools, it’s surprisingly manageable.
This process is about being careful and methodical, not just diving in.
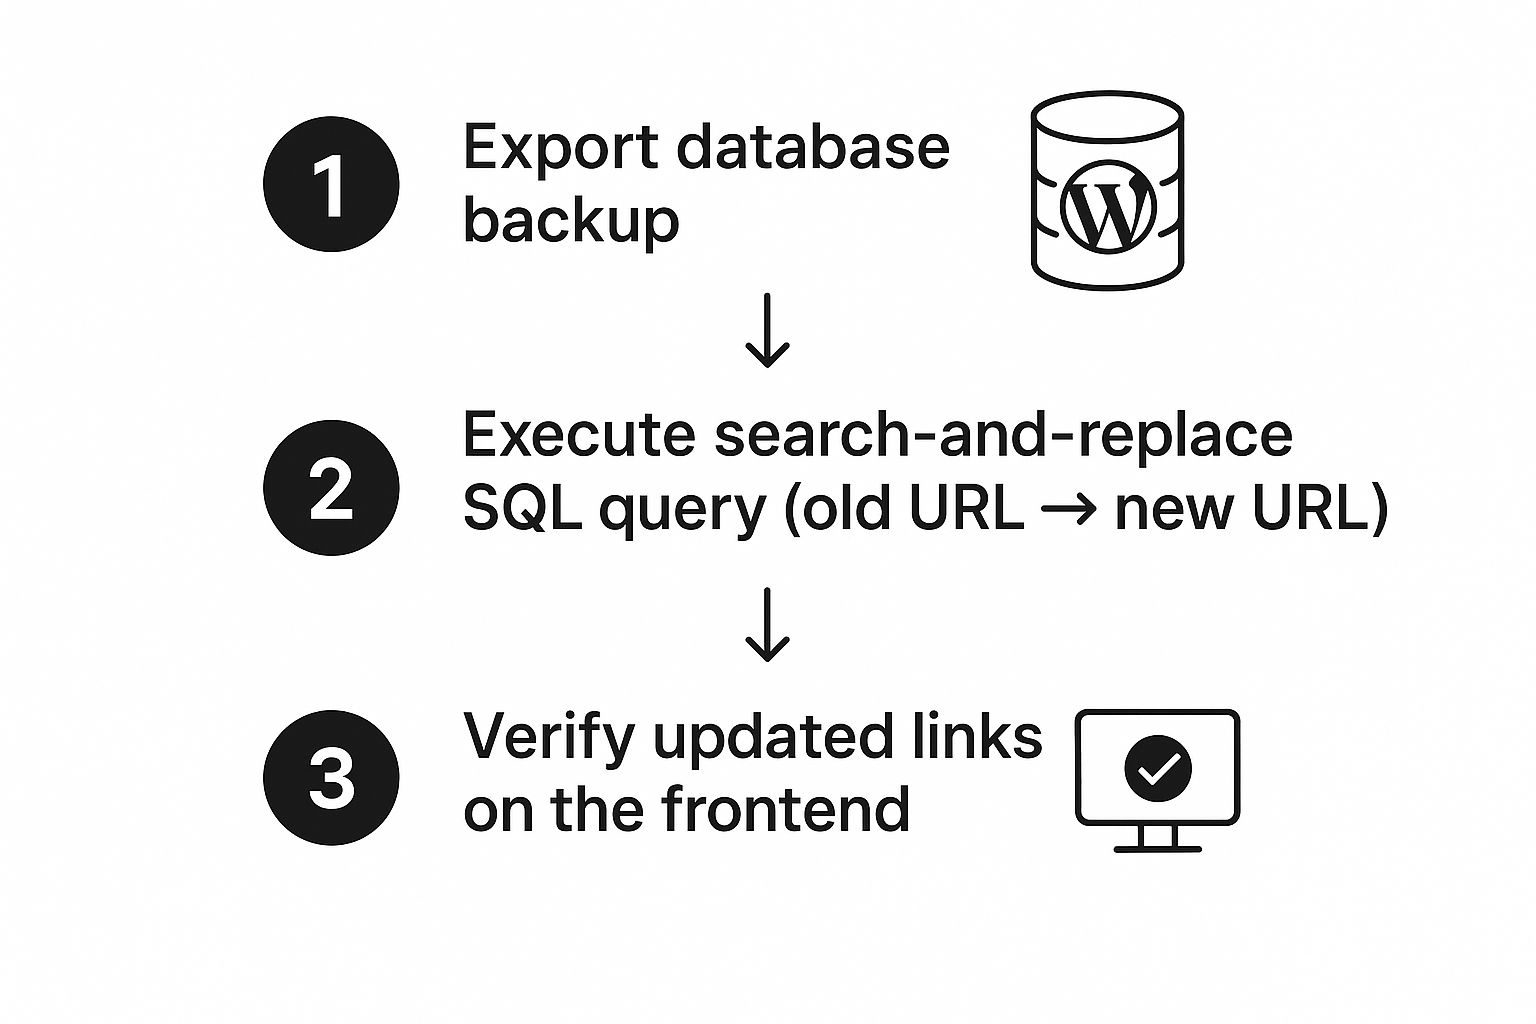
As you can see, a safe database update is a deliberate, multi-part process, not a single risky click.
Choosing Your Database Update Method
When it comes to updating all those URLs, you have two solid options: using a dedicated WordPress plugin or running a more advanced, standalone script. Both get you to the same place, but they're built for different comfort levels and scenarios.
A plugin is almost always the easiest and safest route for most website owners. It gives you a familiar interface right inside your WordPress dashboard, meaning you don't have to get your hands dirty with the database itself.
On the other hand, a script-based approach is incredibly powerful and is often the tool of choice for developers. It's faster, more direct, and can be a lifesaver in tricky situations, especially on very large websites.
To help you decide, let's break down the pros and cons of each approach.
Choosing Your Database Update Method
| Method | Best For | Pros | Cons |
|---|---|---|---|
| Plugin | Most users, especially beginners and those who prefer working within the WordPress dashboard. | – User-friendly interface. – Crucial "dry run" feature to preview changes. – No need for FTP or server access. |
– Can be slower on very large databases. – Relies on a functioning WordPress admin area. |
| Standalone Script | Developers, complex site migrations, or when the WordPress admin is inaccessible. | – Very fast and powerful. – Bypasses WordPress entirely. – Expertly handles serialised data. |
– Requires FTP/SFTP access. – Higher risk if used incorrectly. – Must be manually deleted after use for security. |
Ultimately, the best choice depends on your technical confidence and the specific needs of your project.
Using a Plugin: The Safer Approach
For a reliable, dashboard-based solution, a plugin like Better Search Replace is my go-to recommendation. It’s built specifically for this job and, most importantly, includes the safety features you need.
Here’s why I rate it so highly:
- Simple Interface: Everything is handled from one clean screen inside your WordPress admin area. No guesswork.
- Table Selection: You can choose precisely which database tables the plugin should search through.
- The All-Important 'Dry Run': This is its standout feature. A dry run lets you see exactly how many instances of your old URL will be replaced without actually changing anything. This gives you the chance to spot potential mistakes before they become a problem.
Using it is simple. Install the plugin, head to its settings page, pop the old URL into the "Search for" field, and the new one in the "Replace with" field. Always, and I mean always, run a dry run first. It gives you complete peace of mind before you commit to the change.
The Advanced Option: A Standalone Script
For those who are more technically inclined, a standalone PHP script like the Database Search and Replace Script from interconnect/it offers a more direct and potent approach. This isn't a plugin; it's a single folder of files you upload directly to your server.
This method is incredibly powerful because it works outside of WordPress entirely. It's a fantastic tool for complex migrations or for fixing a site when you can’t even log in, but it demands more care as there are fewer safety nets.
You simply upload the script's folder via FTP, navigate to it in your web browser, and it cleverly detects your WordPress database credentials. From there, you input your old and new URLs and let it run. Its biggest advantage is how it correctly handles serialised data—that's the complex data often stored by themes and plugins, which a basic SQL query can easily break.
Whichever path you take, the goal is the same: to make sure every last trace of your old URL is updated, giving your site a truly clean slate. Just remember, if you use the script, you absolutely must delete it from your server when you're done. Leaving it there is a major security risk. If you need a hand with this critical step, feel free to contact us to learn more.
Your Post-Change Checklist to Protect SEO and UX
You’ve wrestled with the technical side of changing your WordPress URL, and at first glance, everything seems to be working. It’s tempting to dust off your hands and call it a day, but the job isn't quite finished. Now comes the really crucial part: managing the transition to protect your hard-earned SEO rankings and make sure your visitors have a seamless experience.
Think of it like moving house. You’ve moved all the furniture, but now you need to forward your mail, update your address with the bank, and let everyone know where to find you. Skipping these final steps can lead to lost traffic, frustrated users, and search engines thinking your content has simply vanished into thin air.
This checklist will walk you through the essential post-change tasks to keep your site healthy, visible, and performing at its best.
First Things First: Set Up 301 Redirects
This is, without a doubt, the most critical step on your list. A 301 redirect is a permanent instruction that tells browsers and search engine bots that your content has officially moved to a new address. Without it, anyone trying to access your old URL will hit a dreaded 404 "page not found" error.
This not only creates a terrible user experience but also tells Google to drop the old page from its index, taking all its SEO value with it. Setting up a sitewide 301 redirect from your old domain to your new one is the only way to ensure all that traffic and "link juice" gets passed over correctly.
Most hosting providers offer a tool for this right in your control panel. Alternatively, you can use a brilliant WordPress plugin like Redirection to manage it from your dashboard.
Update Your Analytics and Search Console
Your tracking tools need to know you’ve moved, too. If you forget to update them, you'll be looking at skewed data, or worse, no data at all.
- Google Analytics: Head into your property settings and update the "Default URL" to reflect your new site address. This is a quick fix that ensures your traffic data continues to be tracked accurately.
- Google Search Console: You’ll need to add your new URL as a completely new property and get it verified. This is non-negotiable for monitoring your site's health, performance, and indexing status under the new domain.
Don't be too quick to delete your old Search Console property. It’s a good idea to keep it active for a while. You can use it to monitor for any lingering crawl errors and double-check that Google is successfully processing all your redirects.
Submit Your New Sitemap to Google
Once your new property is live in Google Search Console, you need to hand Google a new map of your site. A sitemap is a simple file that lists all the important pages on your website, making it much easier for search engines to crawl and index your content efficiently.
Most SEO plugins, like Yoast or Rank Math, automatically generate this for you. You can usually find it at yournewdomain.co.uk/sitemap_index.xml. Just grab that URL and submit it in your new Search Console property. This gives Google a nudge to start crawling your new URLs much faster.
Run a Full Site Audit
The final step is to put on your detective hat and hunt for any issues that might have slipped through the cracks. Even with a perfect database search-and-replace, strange things can happen. A full site audit is your best bet for catching them.
Use a tool like Screaming Frog or the site audit feature in a platform like Ahrefs to crawl your entire site from top to bottom. You're specifically looking for:
- Broken Links (404s): Are there any internal links that still point to the old URL?
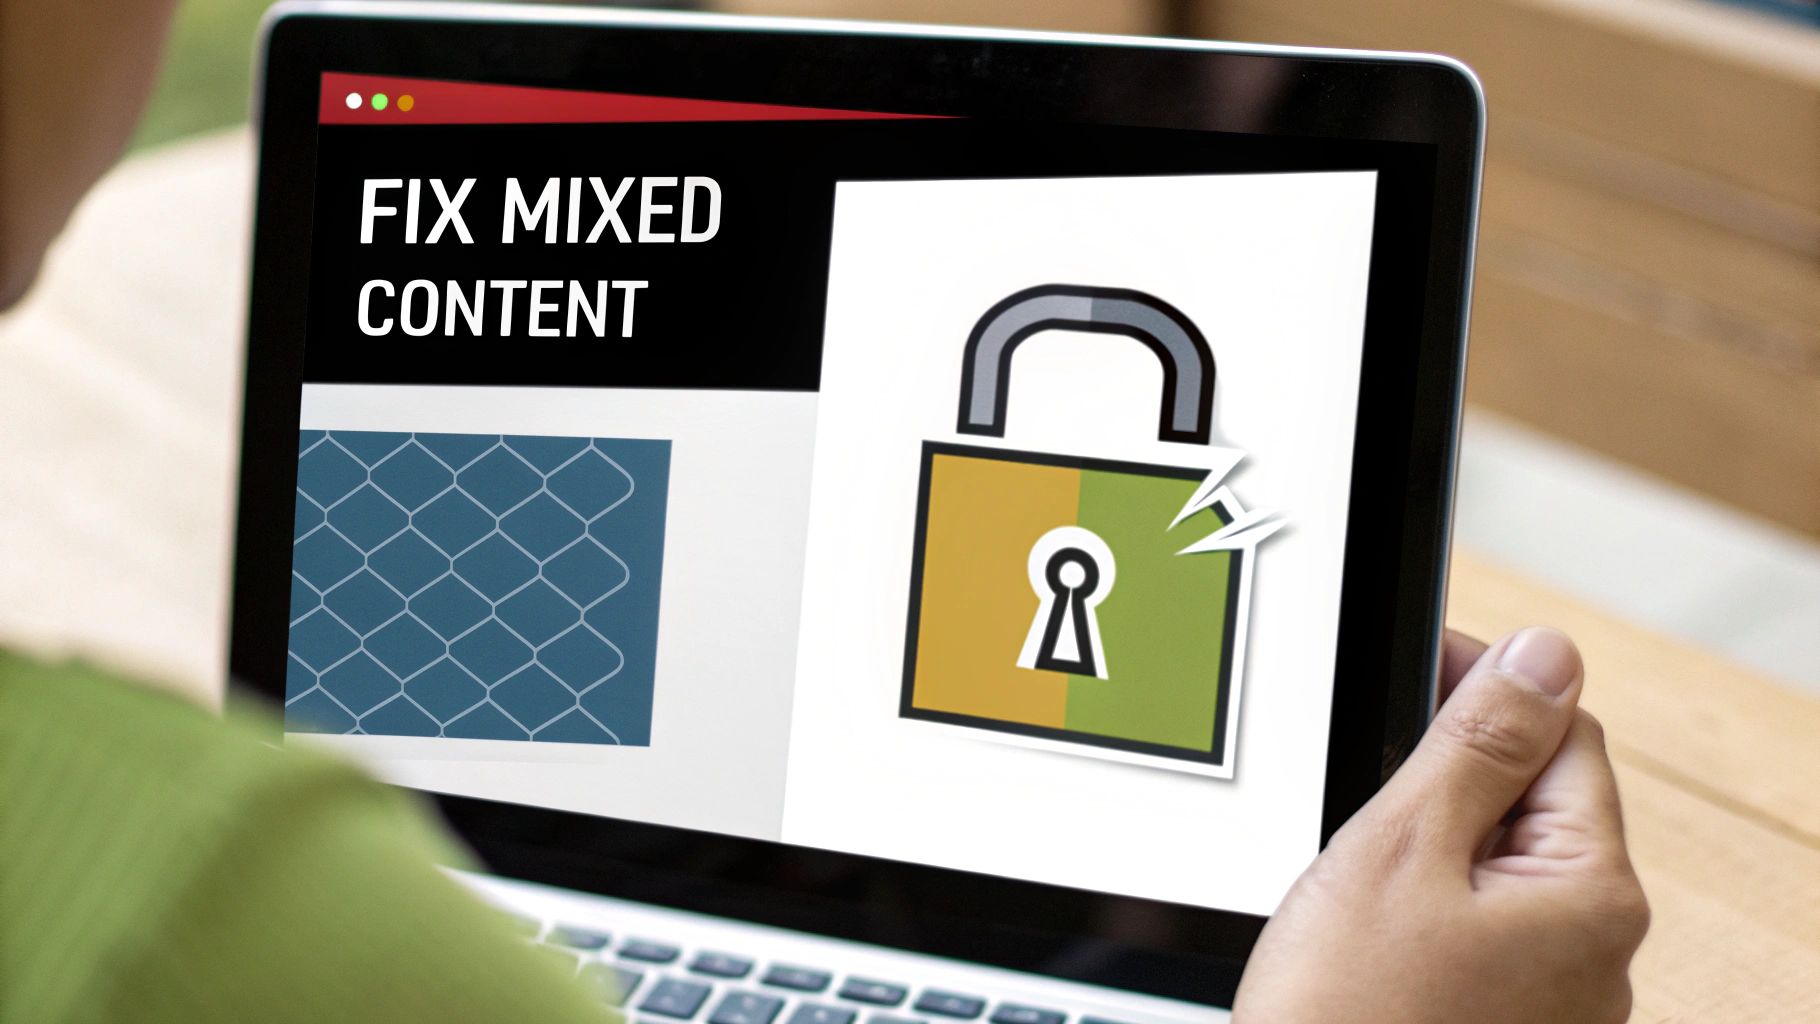
- Mixed Content Issues: If you moved to HTTPS, you need to ensure there are no images, scripts, or stylesheets still loading over insecure HTTP.
- Redirect Chains: Check that redirects go directly from the old URL to the new one, not bouncing through multiple hops.
This audit is your final quality check. Fixing these small but important issues ensures both users and search engines have the best possible experience on your newly updated site. If this all sounds a bit overwhelming, just remember that a good backup is your safety net. You can learn more about how to back up a WordPress site in our detailed guide.
Following this checklist helps you complete the URL change with confidence, knowing you’ve protected your digital assets. If you've hit a snag or would rather have an expert handle the clean-up, feel free to contact us to learn more.
Meta Description
Successfully changed your WordPress URL? Don't stop there. Follow our post-change checklist to set up 301 redirects, update Google tools, and fix broken links to protect your SEO.
A Few Final Questions About Changing Your WordPress URL
Even with a step-by-step guide, it’s natural to have a few lingering questions when you’re about to change something as crucial as your website’s address. It's a big step! Let's walk through some of the most common concerns that pop up.
Will Changing My URL Ruin My SEO?
This is, without a doubt, the number one worry. And for good reason. If you just change the URL and walk away, your search rankings will absolutely plummet. But it doesn't have to be that way.
The key is setting up 301 redirects properly. Think of a 301 redirect as a permanent change of address notice for search engines. It tells Google, "Hey, this page has moved over here for good," and it passes most of the old page's ranking power (what some call "link juice") to the new one. As long as you follow the post-change steps, any dip in traffic should be minimal and short-lived while Google gets everything re-indexed.
Why Are the URL Fields Greyed Out in My Dashboard?
Ever gone to Settings > General and found the WordPress Address and Site Address fields locked and uneditable? It's a common sight, and it doesn't mean your site is broken.
This usually just means the URLs have been hard-coded directly into your wp-config.php file. Developers often do this as a safety measure to stop anyone from accidentally changing the site's address from the admin area. To make your changes, you'll need to open that file (usually via FTP or your host's file manager) and edit the WP_HOME and WP_SITEURL definitions you find there.
What's the Difference Between a Slug and a URL?
It's easy to get these two mixed up, but the distinction is pretty straightforward.
- A URL is the complete address that takes you to a page. For example:
https://yoursite.co.uk/services/web-design. - A slug is just the very last part of that URL that identifies that specific page. In this case, it's
web-design.
Changing your main domain affects the entire site URL for every page. Editing a slug, however, only changes the address for a single post or page.
Keep in mind that when you are changing a URL in WordPress, every part matters. Ensuring your core settings are correct is just as important as having clean, optimised slugs for your individual pages.
How Do I Change URLs on a Multisite Network?
Tackling a URL change on a WordPress multisite network is a different beast altogether. It's significantly more complex because each individual sub-site has its own set of URL entries spread across the database.
The core principles—backing up first and running a search-and-replace—still apply, but the execution requires extreme care. You often need specialised plugins built for multisite to get the database updates right across the entire network. Honestly, if you're not comfortable with the database, this is one of those tasks where calling in a professional is a very good idea.
For a look back at the fundamentals of a standard setup, our guide to the WordPress installer can be a helpful refresher.
Changing your site's URL can feel like a daunting task, but now you've got the knowledge to manage it confidently. If you run into trouble or would simply rather have an expert handle the entire process, LINX Repair Websites is here to help. Contact us to learn more.