Seeing a "403 Forbidden" message on your own website can be jarring. It’s a digital stop sign right where your content should be, and it can feel a bit like you’ve been locked out of your own house. But don’t worry—this is a very common issue, and it's almost always something you can fix.
In simple terms, this error means your web server understands what you're asking for, but it’s actively refusing to let you see the page. The page isn't broken or missing; you just don't have the right permissions to access it at this moment. This guide will walk you through, step-by-step, how to find the cause and get your site back online.
What a 403 Forbidden Error Really Means

It's a frustrating moment, to say the least. You click a link, and instead of your carefully crafted page, you hit a digital roadblock. Before you start to panic, it helps to understand what’s happening behind the scenes.
Think of your website as an exclusive club with a bouncer at the door. A 403 error is that bouncer looking at you and saying, "I see you, but you're not on the list." The server has received your request just fine, but it’s been specifically told to deny you entry.
This is very different from other common errors. A 404 Not Found, for example, is like trying to find a club that doesn't exist. The 403 error confirms the page is right there—you just don't have permission to see it. It can be tricky to tell these issues apart, but you can learn more about how to tell if your website is broken at https://linxrepairwebsites.com/is-your-website-broken-heres-how-to-tell-and-what-to-do/.
What Triggers a 403 Error?
So, why the sudden lockout? This digital denial is almost always the result of a misconfiguration somewhere in your website's files or settings. Let's look at the usual suspects.
| Cause | What It Means | Common Scenario |
|---|---|---|
| Incorrect File/Folder Permissions | The rules for who can read, write, or run your site’s files are wrong, so the server blocks access for safety. | You've just moved your site, or a new plugin has changed permissions without you realising. |
Corrupted .htaccess File |
This powerful configuration file has a mistake in it, causing the server to enforce a broken rule. | A single typo or a faulty redirect rule added to the file is accidentally locking everyone out. |
| Faulty Plugin or Theme | A piece of software on your site is being overprotective and blocking access when it shouldn't. | A security plugin might be too aggressive, or a theme update contains a bug that interferes with permissions. |
| Hotlink Protection | Your server is configured to stop other sites from using your images, but the settings are blocking you too. | You try to view an image directly, or your own domain isn't correctly whitelisted in the server settings. |
| Missing Index Page | The server is trying to show the contents of a directory, but there's no default page (like index.php) to display. |
You're trying to access a folder URL directly, and directory browsing has been disabled for security. |
These issues might sound technical, but they're surprisingly common. Understanding these root causes is the first and most important step. Now, let’s walk through how to diagnose and fix these problems, turning that digital bouncer into a welcoming host once again.
Correcting Your Website's File Permissions
Running into a 403 forbidden error often feels like your website has slammed the door in your face. But more often than not, the reason is surprisingly simple: the permissions for your website's files and folders are set incorrectly. This is probably the most common cause of a 403 error, and thankfully, it’s one of the easiest to fix.
Think of file permissions as keys to different rooms on your website. Every file and folder has a numeric code that tells the server who can read it, write to it, or run it. If those "keys" are wrong, the server, acting like a very strict security guard, denies access to protect your site.
How to Access Your Website's Files
First, you need to get into your site's backend file system. You have two great options here:
- Using an FTP Client: A File Transfer Protocol (FTP) client is a brilliant tool for this. We recommend FileZilla—it’s free, reliable, and connects directly to your server from your computer.
- Using Your Host's File Manager: Alternatively, most web hosts provide a File Manager right inside their control panel (like cPanel or Plesk). It's a web-based tool that lets you manage files without installing any software.
Once you're connected and looking at your website's root directory (usually a folder named public_html or www), you're ready to start.
A Quick but Crucial Warning
Before you touch a single setting, please make sure you have a fresh backup of your website. While tweaking permissions is generally low-risk, a backup is your ultimate safety net.
Decoding the Magic Numbers: 755 and 644
When you look at your file permissions, you'll see a three-digit number. It’s a simple system that dictates who can do what: the owner (you), the group (other users on the server), and the public (your visitors).
The permissions themselves are made up of three actions:
- Read (value of 4): The ability to see the contents of a file or folder.
- Write (value of 2): The ability to edit or modify a file or folder.
- Execute (value of 1): The ability to run a script or enter a folder.
These values are simply added together. So, a permission of 7 (4+2+1) means full access. With that in mind, the industry-standard permissions for WordPress are simple:
- Folders (Directories) should be 755. This gives you full control, while everyone else can only enter and view the folder's contents.
- Files should be 644. This lets you read and edit your files, but everyone else can only read them. This is vital for security.
Putting It All Into Practice
Alright, let's get this sorted. The trick is to update your folders first, then your files. Both FileZilla and most hosting File Managers let you apply changes to everything inside a folder at once, which saves a lot of time.
Here’s the step-by-step:
- In your FTP client or File Manager, find your site's root directory.
- Right-click on the main WordPress folders (
wp-admin,wp-content, andwp-includes) and find the option called "File Permissions" or "Change Permissions". - In the numeric value box, type 755.
- Look for a checkbox that says "Recurse into subdirectories" and an option to apply the change to "directories only".
- Click OK. Once it's done, we'll do the same for the files.
- Select the same folders again and go back to "File Permissions". This time, enter 644.
- Again, tick "Recurse into subdirectories," but this time, apply the change to "files only".
Once those changes are applied, go to your website and refresh the page. For many 403 errors, this is the magic bullet that fixes the problem instantly. If you're still seeing the error, don't worry. We've got more steps coming up.
Getting to Grips with a Corrupted .htaccess File

If sorting out your file permissions didn’t work, the next place to look is a tiny but crucial file called .htaccess. This file acts as a rulebook for your server and is a common culprit behind a 403 forbidden error.
Think of it as a bouncer for your website. It handles everything from creating clean URLs to blocking bad bots. But because it's so powerful, a single typo can cause chaos and lock everyone out. It’s surprisingly easy for this file to get messed up, but fixing it is usually quite simple.
The Quickest Way to Fix a Corrupt .htaccess File
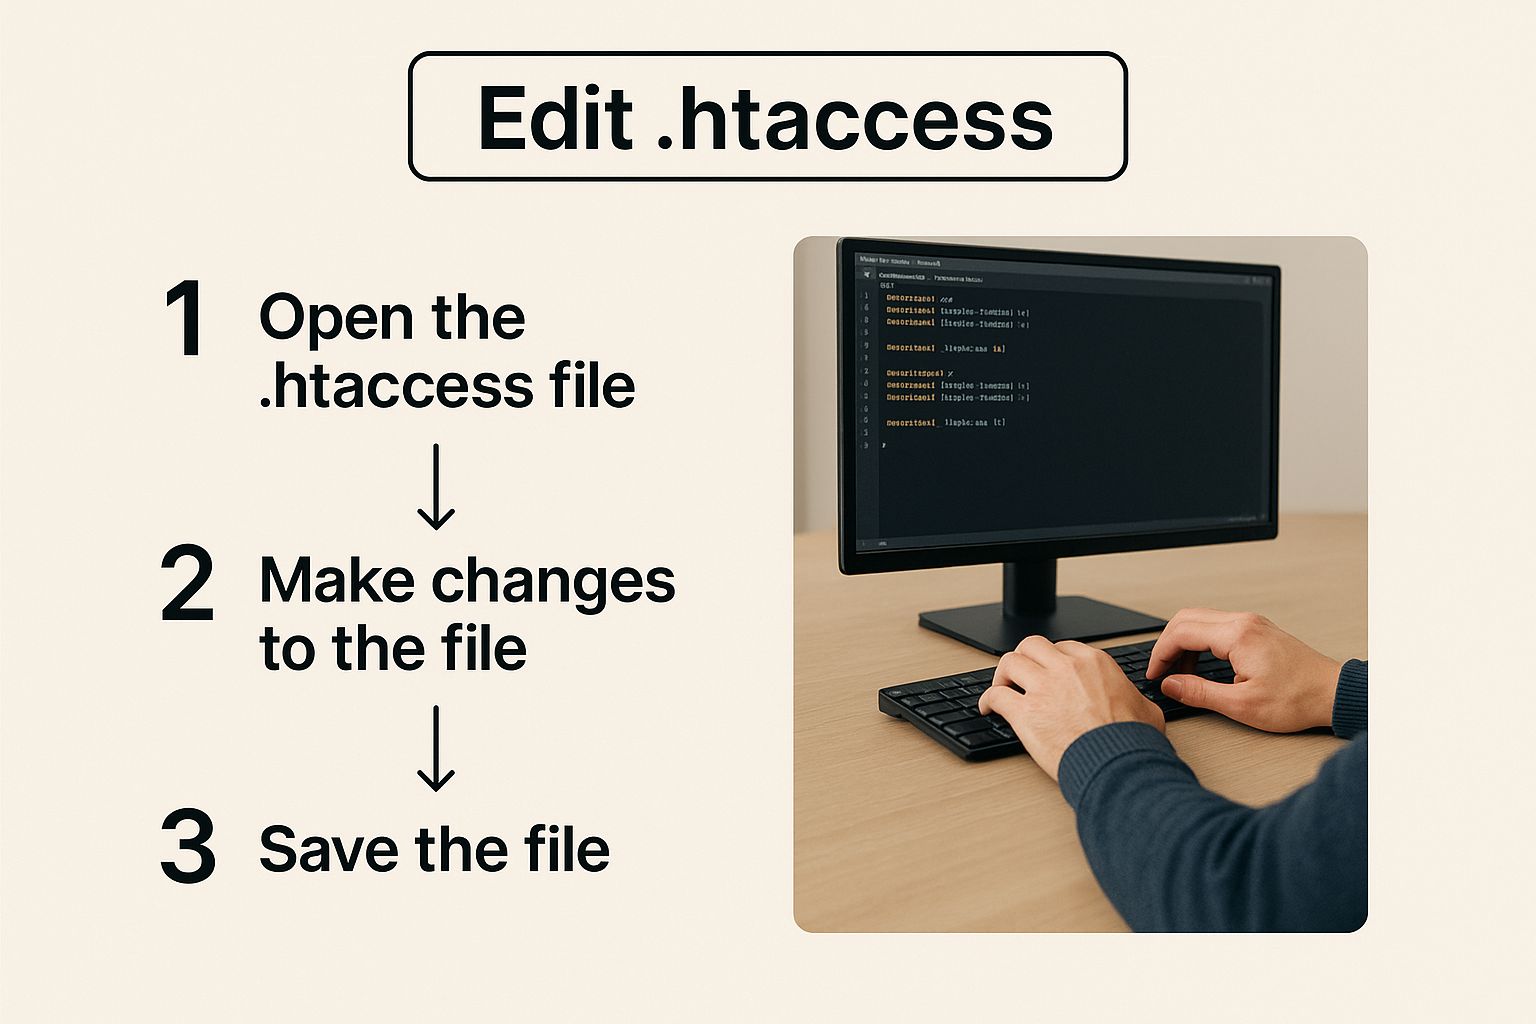
Rather than searching for one bad line of code, the most effective approach is to get WordPress to generate a brand new, clean .htaccess file. We just need to temporarily hide the old one and prompt WordPress to create a fresh one from scratch.
Our Strategy: A Simple Reset
We're going to rename the current.htaccessfile, which deactivates it. Then, with a couple of clicks in your WordPress dashboard, we'll trigger the creation of a brand-new, error-free file.
You'll need access to your site’s files, just like before. You can use an FTP client like FileZilla or the File Manager in your hosting control panel.
Step-by-Step: Generating a New File
Once you’re logged into your server and looking at your website's root folder, just follow these steps.
- Find the existing .htaccess file. It's in the same main directory as your
wp-adminandwp-contentfolders. Can't see it? You might need to enable "Show Hidden Files" in your FTP client or File Manager. - Rename the file. Right-click on
.htaccessand rename it to something like .htaccess_old. This takes the broken file out of action without deleting it. - Check your website. Now, try to visit your site. If the 403 forbidden error has vanished, congratulations! You’ve found the problem.
With your site back online, there's just one final step.
- Create the new .htaccess file. Log in to your WordPress admin area and go to Settings > Permalinks. You don’t need to change anything here. Just scroll down and click the Save Changes button.
That's it. That simple action forces WordPress to generate a fresh, default .htaccess file. This new file contains all the essential rules your site needs, but none of the corrupted code that was locking you out. Sometimes, a bad .htaccess file can cause other issues, which you can read about in our guide on how to fix a 500 internal server error.
What If I Need to Create the File Manually?
On rare occasions, WordPress might not be able to create the file automatically. If that happens, you can easily create it yourself.
- In your site's root directory, create a new file and name it
.htaccess - Open the file and paste in the default WordPress code below.
- Save the file.
Here’s the standard code for a basic WordPress installation:
# BEGIN WordPress
<IfModule mod_rewrite.c>
RewriteEngine On
RewriteBase /
RewriteRule ^index\.php$ - [L]
RewriteCond %{REQUEST_FILENAME} !-f
RewriteCond %{REQUEST_FILENAME} !-d
RewriteRule . /index.php [L]
</IfModule>
# END WordPress
Pasting this code will restore your site’s basic functions and should clear the 403 error. If you're still stuck, our next step is to investigate your plugins and themes.
Finding a Problem Plugin or Theme
So, you’ve corrected your file permissions and reset the .htaccess file, but that frustrating 403 forbidden error is still there. Don't give up yet! The problem might not be a server setting at all; quite often, it’s a faulty plugin or theme.
A security plugin can get a bit overzealous, or a recent update can create a conflict that messes with permissions. Our strategy is a classic process of elimination: we'll disable your plugins to see if that clears the error. If it does, we'll know a plugin is the culprit.
The Classic Plugin Deactivation Method
The most direct way to test this is from your WordPress dashboard.
- Go to the Plugins section in your WordPress admin area.
- Tick the main checkbox to select all active plugins.
- From the Bulk actions dropdown, choose Deactivate and hit Apply.
- Now, check your website again. Is the 403 error gone?
If the site loads correctly, a plugin is to blame. Now, go back to your plugins list and reactivate them one at a time. After activating each plugin, refresh your website. The moment the 403 error reappears, you’ve found your problem plugin.
What to Do When You Are Locked Out of Your Dashboard
Sometimes a faulty plugin will lock you out of your wp-admin area. Thankfully, there’s a straightforward workaround using FTP.
If you can't get into your dashboard, connect to your site's server with an FTP client like FileZilla or your host's File Manager. Once connected, navigate to the wp-content folder.
Inside wp-content, you’ll see a folder named plugins. Simply right-click this folder and rename it to plugins_disabled. This deactivates every plugin on your site, which should let you log back into your dashboard.
A Quick Pro Tip
Renaming thepluginsfolder via FTP is a completely safe and reversible way to disable all plugins. Once you regain access, rename the folder back toplugins. You can then reactivate them one by one to find the culprit.
Ruling Out a Theme-Related Conflict
While less common, a conflicting theme can also trigger a 403 error. The process is similar to checking plugins: we'll switch to a default WordPress theme to see if that solves the problem.
Go to Appearance > Themes in your dashboard. Find and activate one of the default themes, like "Twenty Twenty-Four."

If switching the theme makes the 403 error disappear, you know the problem is with your original theme. At this point, you can contact the theme developer for help. For more complex issues, our guide to resolving plugin and theme errors offers more tips.
Digging Deeper: Investigating Server-Side Issues
If you’ve worked through the usual suspects and are still faced with a 403 error, it’s time to look at the server itself. Often, the problem is a server-side security feature that’s being a little too enthusiastic.
When Good Security Goes Bad
Modern web hosting is packed with security layers. Features like hotlink protection and IP blocking are great for stopping malicious bots, but when they’re not configured correctly, they can accidentally lock out legitimate visitors—including you.
A 403 error can have a real impact on business. It’s a stark reminder that your security settings need to work for you, not against you. To learn more about the broader impacts of this error, check out this comprehensive guide.
Checking Hotlink Protection and IP Deny Rules
Two common server-level tools that can cause issues are hotlink protection and IP deny rules.
- Hotlink Protection: This stops other websites from directly linking to your images and stealing your bandwidth. If your own domain isn't whitelisted correctly, it can block your site from displaying its own images, leading to a 403 error.
- IP Deny Rules: Your server can block access from specific IP addresses. If your own IP address accidentally ends up on this blocklist, you’re completely locked out.
You can typically find these settings in your hosting control panel. Try turning them off temporarily. If the 403 error vanishes, you've found the cause.
Is Your Web Application Firewall (WAF) the Problem?
Another powerful line of defence is a Web Application Firewall (WAF). A WAF is like a smart filter that blocks suspicious traffic before it reaches your site.
A WAF is like having an elite security guard at your front door. It’s phenomenal for stopping hackers, but sometimes a legitimate visitor might get blocked by mistake. That’s when you see a 403 error.
This is a common scenario with security plugins like Wordfence or Sucuri, which include WAFs. A quick way to test this is to temporarily disable the WAF in your security plugin’s settings.
If you’ve explored all these issues and are still stuck, it’s a strong sign the problem is buried deeper. At this point, your best move is to contact your hosting provider. Their support team has the tools needed to check the server logs and find the root cause. When you reach out, be sure to detail the steps you’ve already taken to help them diagnose the problem faster.
Wrapping Up and Keeping Your Site Healthy
Stumbling upon a 403 forbidden error is always a bit stressful, but it's rarely a sign of disaster. As we've seen, it's almost always something you can fix yourself with a methodical approach.
You now have a solid plan for tackling this error. You know how to check file permissions, generate a clean .htaccess file, and hunt down a misbehaving plugin or theme. These checks will solve the problem nine times out of ten.
Your Absolute Best Defence
If there’s one thing a 403 error teaches you, it’s that regular, reliable backups are essential. A recent backup is your ultimate safety net, giving you the confidence to fix things, knowing you can always rewind if something goes wrong.
Remember, fixing the error is only half the battle. The real win is becoming more confident in managing your own website.
Of course, if you’ve followed every step and that stubborn error is still there, don't hesitate to ask for help. Reaching out to your hosting support or a developer isn’t failure—it's just smart management.
Meta Description:
Struggling with a 403 Forbidden error? Our friendly guide walks you through simple, step-by-step fixes to get your website back online quickly.
A Few Lingering Questions
Getting your site back online after wrestling with a 403 forbidden error is a huge relief, but it often leaves a few questions. Let's tackle some of the most common ones.
Will a 403 Forbidden Error Tank My SEO?
In a word, yes, if it's not fixed quickly. A 403 error is like putting a "Keep Out" sign on your door. When search engine crawlers like Googlebot see that, they can't access the page to index it.
If the error sticks around for more than a day or two, you’ll likely see that page drop out of search results. A temporary issue that's resolved in a few hours is fine, but a lingering error is a serious problem for your SEO.
I’ve Fixed the 403 Error, but My Visitors Are Still Seeing It. What Gives?
This is a classic caching problem. The old 403 error page is probably stuck in a cache somewhere—either in your visitor's browser, a caching plugin on your site, or a Content Delivery Network (CDN).
My Go-To Advice: Make it a habit to purge all your caches after fixing a major site issue. This forces every system to fetch the fresh, working version of your page.
To get everyone on the same page, clear the cache in your WordPress plugins and your CDN first. If users still report the issue, advise them to clear their browser cache.
Why Am I Only Getting a 403 Error on a Single Page?
When the error is isolated to just one part of your site, it's usually easier to pinpoint. Nine times out of ten, it boils down to one of these culprits:
- The file permissions for that specific page's file are wrong.
- A rule in your
.htaccessfile is specifically blocking that URL. - A plugin, like one for memberships, is deliberately blocking access to that content.
I'd start by checking the permissions on that individual file. That's the most likely cause.
If you've run through all the checks and are still seeing that dreaded error, or you'd just rather an expert handled it, our team is ready to help. Get in touch with us to learn more.
