meta_description: Seeing old content after an update? Learn how to clear your WordPress cache with plugins, your host, browser, and CDN. Our guide makes it simple.
Have you ever made a change to your WordPress site, hit refresh, and… nothing? It’s a frustratingly common moment, but don’t worry, the fix is usually quick and simple. Most of the time, all you need to do is clear your WordPress cache.
You can typically do this by finding a "Purge" or "Clear Cache" button. Depending on your setup, this will be in the WordPress admin bar at the top of your screen or tucked away inside your caching plugin’s main settings page. In this guide, we'll walk you through exactly what that means and how to do it, step by step.
Why Clearing Your WordPress Cache Matters
Think of caching as your website's short-term memory. To make your site load super fast for visitors, it stores static, ready-to-go versions of your pages. This is a fantastic trick for improving performance, but that "memory" can sometimes hold on to old information a little too tightly.
When you clear the cache, you're just telling your website to forget all those saved versions and build fresh ones from scratch. This ensures that the latest updates you’ve made are visible to everyone.
What Is Caching and Why Do We Need It?
At its core, caching is all about speed. Without it, every time someone visits one of your pages, your server has a lot of work to do. WordPress has to find information in the database, piece together all the different page elements, and only then can it send the finished product to the user's browser. It’s a bit like a chef cooking a meal from scratch for every single customer.
Caching streamlines this whole process. It takes a snapshot—a static HTML copy—of the fully built page and serves that instead. The next visitor gets this pre-made version instantly. It's so effective that over 82.4% of WordPress websites use some form of caching, often seeing load times drop significantly. You can dig into more of these WordPress statistics to see the full picture.
When a Good Thing Needs a Reset
So, if caching is so great, why would you ever need to clear it? The problem pops up when the saved version of your site is no longer accurate. This happens all the time when you're making routine updates.
You'll know it's time to clear the cache when you run into issues like:
- Design changes won't appear: You've tweaked your site's colours or updated the logo, but the old design keeps showing up.
- New content is invisible: That blog post you just proudly published is nowhere to be seen on the homepage.
- Plugin settings aren't taking effect: You've reconfigured a plugin, but the front-end of your site is still behaving the old way.
In these situations, clearing the cache is your first and best move. It forces the server to throw out the old copies and rebuild everything, ensuring what you see in the backend is what your visitors see on the live site. It's a perfectly safe and routine part of good website management.
Clearing Your Cache with Popular WordPress Plugins
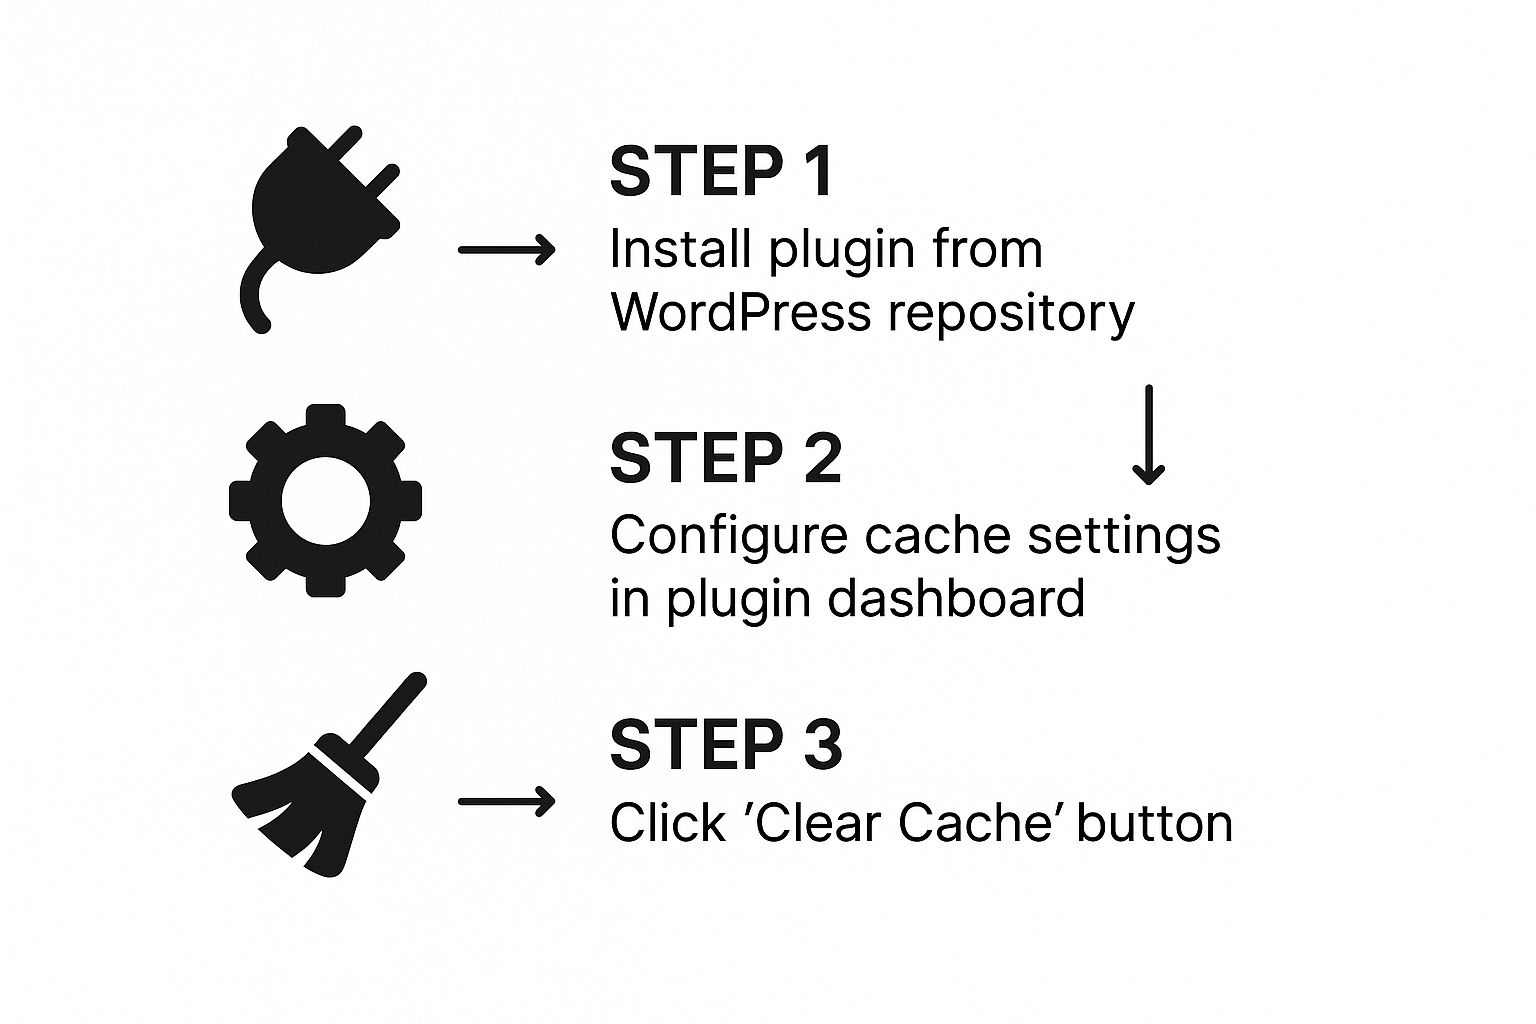
If you’re running a WordPress site, you're likely using a caching plugin to keep things speedy. The good news is these plugins make it incredibly easy to clear your site’s cache, usually in just a click or two.
Most of the top plugins add a handy shortcut right into the WordPress admin bar – that black bar you see at the top of your screen when you're logged in. This means you can zap your cache without ever having to dig into the settings. Let's walk through how it's done with a few of the most popular options.
Finding the Button in WP Rocket
WP Rocket is a crowd favourite because it makes everything so simple, and clearing the cache is no exception.
- From the Admin Bar: The quickest way is to hover over the ‘WP Rocket’ link in the top admin bar. You'll immediately see a ‘Clear cache’ option. One click, and it purges every cached file across your entire site.
- From the Dashboard: If you're already in the plugin's settings, you can navigate to
Settings > WP Rocket. Right on the dashboard, you'll spot a big ‘Clear Cache’ button.
Honestly, I use the admin bar option 99% of the time. It's perfect for when you've just made a site-wide change, like updating your theme or tweaking the main navigation.
Clearing Cache with W3 Total Cache
W3 Total Cache is another powerhouse, known for its extensive configuration options. While it has a lot going on under the hood, clearing the cache is just as easy to find.
Look for a ‘Performance’ tab in your admin bar, usually accompanied by a little gear icon.
Hover over the ‘Performance’ tab, and a dropdown menu will appear. The very first option is almost always ‘Purge All Caches’. Clicking this one link clears everything—the page cache, object cache, and database cache. Job done.
Below is a look at the main W3 Total Cache dashboard, which is your central command post for all its settings.
While this dashboard gives you a great overview, for a quick clear, that admin bar shortcut is always going to be your fastest route.
Handling LiteSpeed Cache
If your site is hosted on a LiteSpeed server, you’re probably using the brilliant LiteSpeed Cache plugin, which talks directly to the server for incredible performance.
Just like the others, it adds its own icon to the admin bar – it looks like a diamond shape. Hover your mouse over this icon, and a menu will pop up with a ‘Purge All’ option. A single click flushes everything LiteSpeed has cached, making your latest updates visible to visitors right away.
If you're still figuring all this out, our guide to the best WordPress caching plugins breaks down why these tools are so vital for a healthy, fast website.
Clearing the Cache from Your Hosting Provider
So, you’ve cleared your plugin's cache, but your site still isn't showing your latest changes. What gives?
This is a really common scenario, and it’s usually because your hosting provider has its own powerful caching system running on the server. Think of it as another layer of caching that sits on top of your WordPress plugin. This server-level cache is brilliant for speed, but if you don't clear it, it can stubbornly hold on to old content, no matter how many times you purge your plugin.
How to Find Your Host’s Cache Controls
You won't find this setting inside your WordPress admin area. To clear the server-side cache, you need to log in to your hosting account’s control panel (this could be cPanel, Plesk, or a custom dashboard a specific host has built).
Where you find the "purge cache" button depends on your provider, but here are the most common places to look:
- Dedicated Performance/Caching Menus: Many hosts group performance tools together. Look for menu items like "Performance," "Caching," or a branded tool like SiteGround's "SuperCacher."
- A "WordPress Management" Area: If your host offers specific tools for WordPress sites, you’ll often find a "Flush Cache" or "Purge Cache" button there.
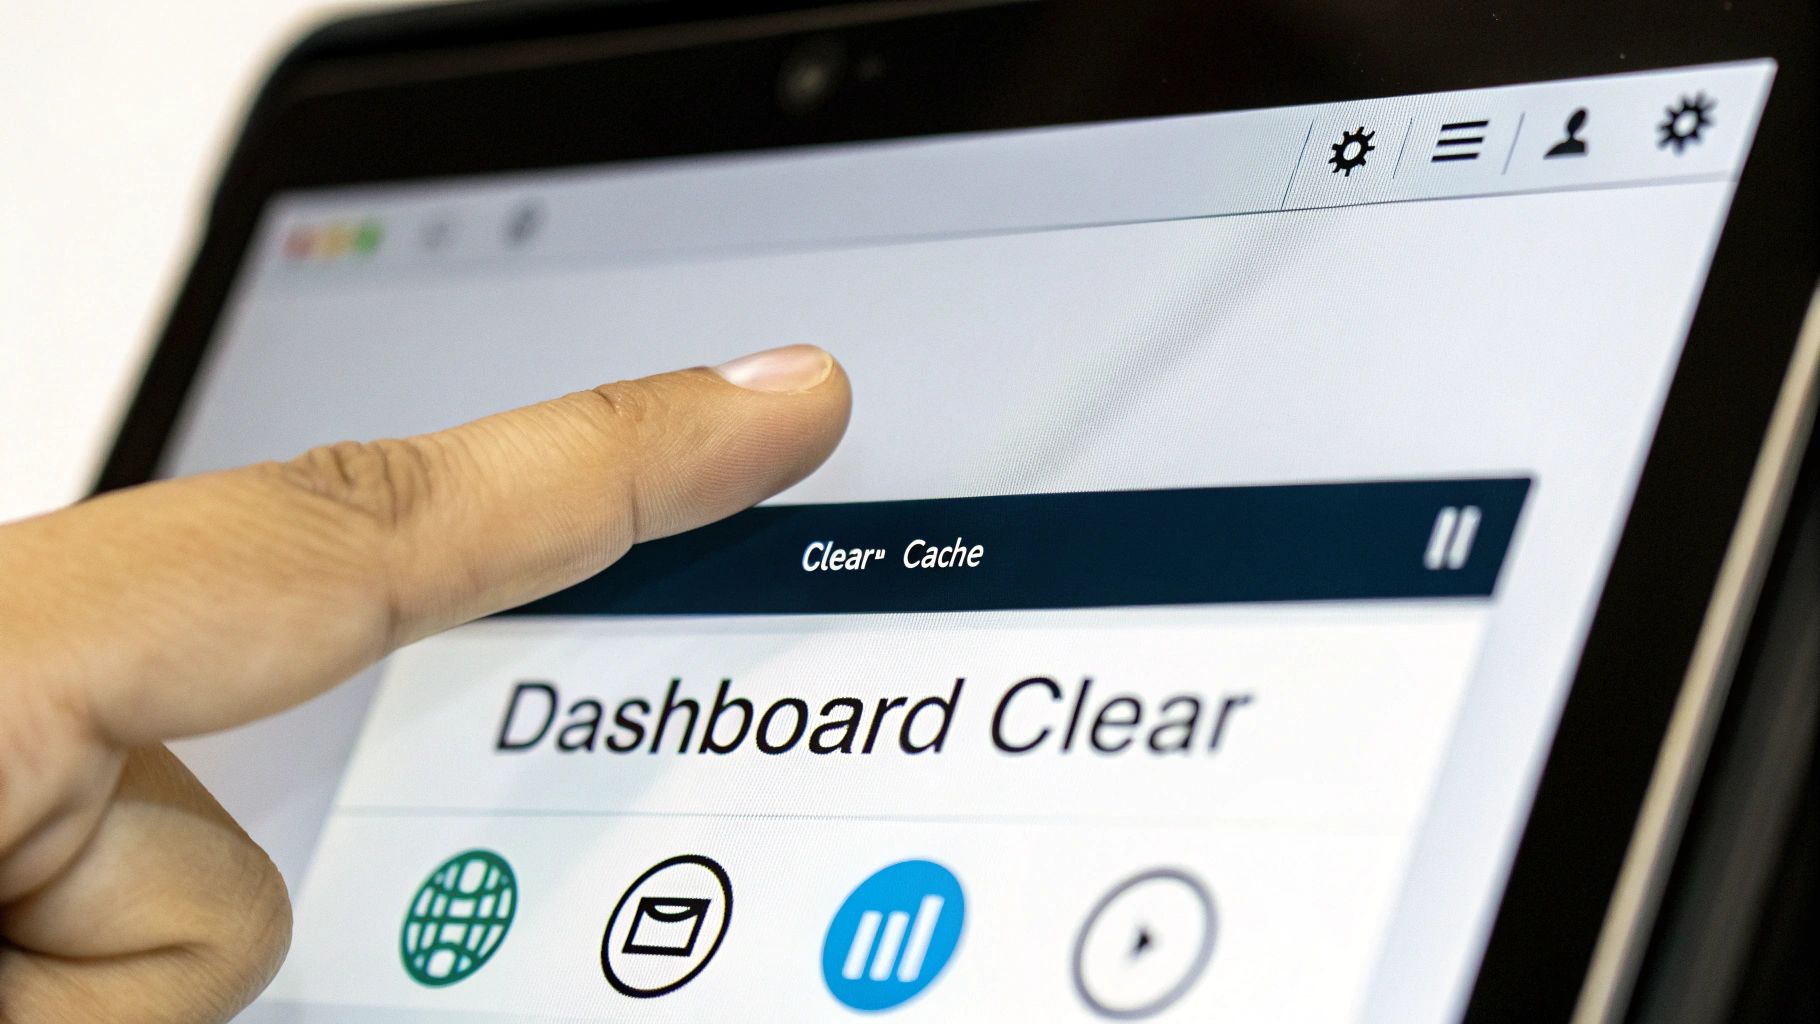
- The Main Dashboard: Some hosts, like Kinsta, make it incredibly easy by putting a "Clear Cache" button right in the main navigation of your site dashboard.
It's a good habit to clear your hosting cache after major events, such as a website migration or a significant theme update. This ensures the server delivers the absolute freshest version of your site files.
Website speed is a critical factor; studies show even a one-second delay can lower conversions by 7%. Discover more about how caching improves WordPress performance statistics on MageComp. Ultimately, clearing your host's cache gives you the final say, wiping the slate clean and resolving those frustrating issues a plugin just can't reach.
Clearing Browser and CDN Caches
Right, so you've cleared your WordPress plugin and even purged the server cache, but you’re still seeing the old version of your site. Don't pull your hair out just yet. This usually comes down to one of two final caching layers: your own web browser or your Content Delivery Network (CDN).
Your browser—be it Chrome, Firefox, or Safari—is designed for speed. It stores bits and pieces of websites you visit often (like images and scripts) on your computer so it doesn't have to re-download them every time. The problem? It can be a little too good at its job. Fortunately, the fix is quick and easy.
Forcing a Hard Refresh
You can bypass your browser's local memory and force it to download a completely fresh version of your site. It’s called a hard refresh, and it’s one of the first things web developers try when a change doesn't appear.
Give these keyboard shortcuts a go:
- Windows and Linux users:
Ctrl + F5 - Mac users:
Cmd + Shift + R
Nine times out of ten, this simple trick does the job.
Clearing Your Content Delivery Network (CDN)
If a hard refresh didn't work, the last place to look is your CDN. Services like Cloudflare or KeyCDN work by distributing copies of your website's assets on servers across the globe. This is fantastic for performance, but like any cache, a CDN's memory needs to be refreshed.
To do this, you'll need to log into your CDN provider's dashboard directly.
While your plugin takes care of your website's cache, the CDN is a separate system. Once you're logged into your CDN's dashboard, look for a section labelled "Caching" or "Purge". You should find a button that says something like "Purge Everything." Clicking this tells all of the CDN's global servers to dump their saved files and fetch the very latest version of your site.
Where to Clear Your Cache: A Quick Guide
It can be confusing to know which cache is causing the problem. Here’s a quick-reference table to help you figure it out.
| Symptom You Are Seeing | Cache to Clear First | Why This Usually Works |
|---|---|---|
| Made a content update, but it's not showing. | WordPress Plugin Cache | Your plugin is serving a pre-built static page instead of generating a new one with your changes. |
| Changes appear for logged-in users, but not for visitors. | WordPress Plugin Cache or Server-Side Cache | Caching is often disabled for logged-in admins, so you see live changes while visitors see cached versions. |
| You see the old site, but a colleague sees the new one. | CDN Cache | Your local CDN server (edge location) hasn't updated yet, but the one near your colleague has. |
| You’re the only one seeing the old version of the site. | Browser Cache | Everyone else sees the update, which strongly suggests the issue is with the files stored on your own computer. |
Think of it as a process of elimination. Start with the most common culprit (your plugin) and work your way outwards. This approach will save you time and help you pinpoint the issue much faster.
When Should You Clear Your WordPress Cache?
Knowing how to clear your WordPress cache is one thing; knowing when to do it is what really matters. Purging your cache too often can actually slow your site down for a moment, because it has to rebuild all those saved files. Think of it less as routine maintenance and more as a specific tool for a specific job.
The golden rule is simple: clear the cache only when something isn't right. If your website is looking and behaving as you expect, just leave the cache alone to do its job. After all, a slow WordPress website often has deeper issues that clearing the cache won't fix.
Your Go-To Cache Clearing Checklist
So, when is the right time to hit that "purge" button? Here are the most common situations where a cache clear is the perfect solution:
- After updating themes or plugins: This is the most common reason. Updates bring new code and styles, and you need to clear the old, cached versions out to make sure everything loads correctly.
- When visual changes aren't showing up: You’ve just uploaded a new logo or tweaked the colour scheme, but you're still seeing the old design. That's a classic sign your cache needs a nudge.
- New posts or pages are missing: Just published a brand-new blog post, but it's not on your homepage? A quick cache clear will almost always force it to appear.
- Your website is acting strange or glitchy: Sometimes, a stale cache can cause weird behaviour. Clearing it is a fantastic first step in any troubleshooting process.
Basically, think of clearing your cache as the website equivalent of "have you tried turning it off and on again?". It’s a simple, surprisingly powerful fix for many common WordPress headaches.
Final Thoughts: Caching Made Clear
Diving into WordPress caching can feel a bit technical, but hopefully, this guide has shown you that it’s a straightforward and safe process. Remembering the different layers—from plugins and hosting to your browser and CDN—is the key to solving those frustrating "why aren't my changes showing?" moments.
The most important thing to remember is not to overthink it. Let your cache do its job to keep your site fast, and only step in to clear it when you need to see your latest updates go live. It’s a simple tool that, once you understand it, puts you firmly in control of your website.
If you find yourself stuck on a tricky caching issue that just won't budge, our team is ready to help. We provide quick, expert support to sort out any WordPress hiccups. Get in touch to learn more about our services.